
Appearance
Exercise 2: Build Analytical Topics with Standard Actions
In this exercise, you'll build the agent's read-and-analyze capabilities using standard actions: the query, lookup, and summarization actions built into every Agentforce org. You'll fully build the Account Health Overview topic, then add three more analytical topics that reuse the same standard actions.
Step 1: Create the Account Health Overview subagent
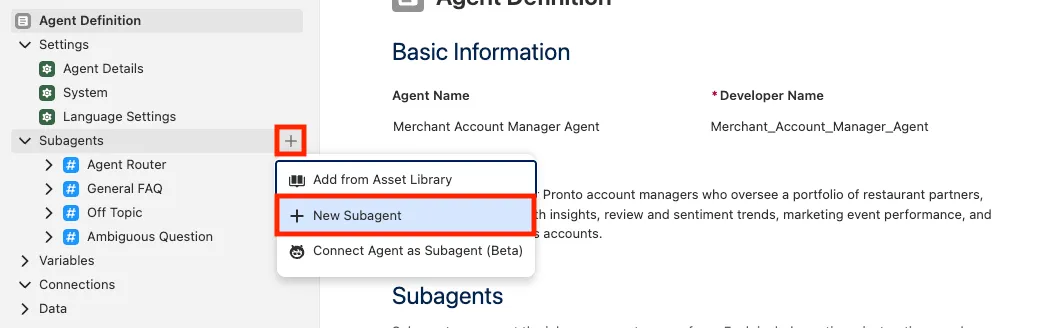
In Agentforce Builder, click the + sign besides Subagents in the explorer.
Select Create new subagent.
Set the following values:
Field Value Name Account Health OverviewDescription Give account managers a 360-degree briefing on a merchant account, summarizing storefronts, open cases, active promotions, marketing events, and review scores, and flagging any red flags.Click Create and Open.
Paste the following into the Instructions section:
txtHelp the account manager understand the overall health of a merchant account. First resolve the account by name. Then gather related data (storefronts, cases, promotions, and review scores) using query and aggregate actions. For storefront review scores, query the Storefront object's Average Review Score rollup field directly with Query Records rather than aggregating individual review records. Use get-details and summarize actions for deep dives on specific records. Present a structured summary and call out any red flags such as low review scores or a high number of open cases.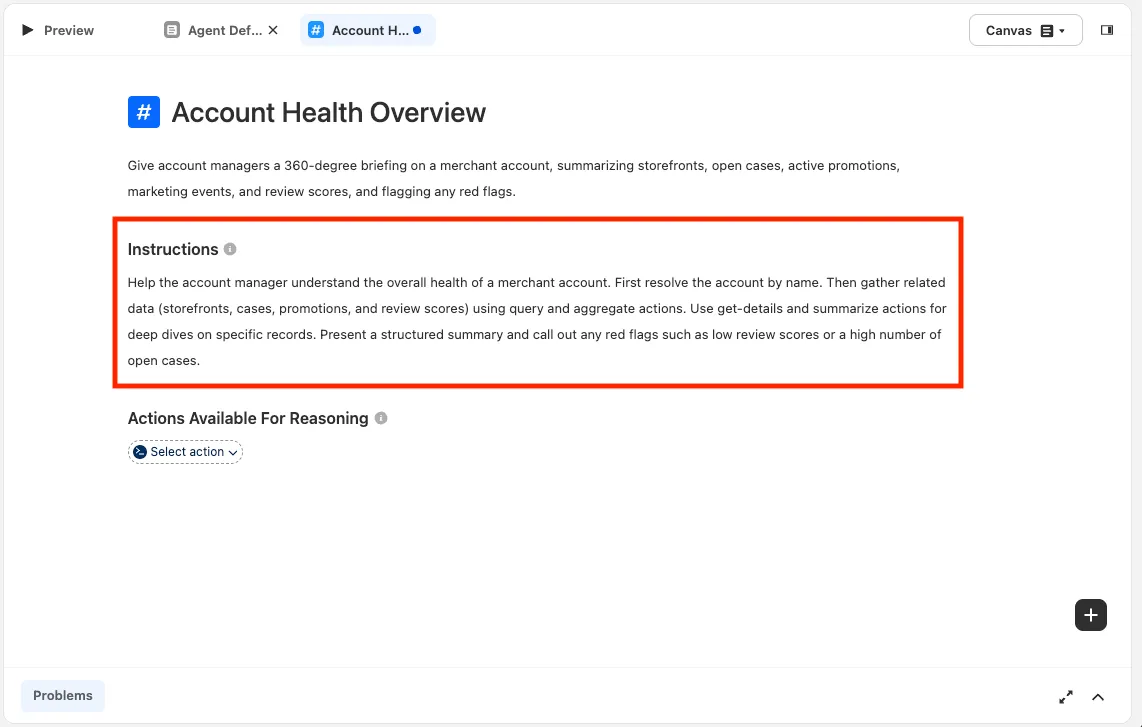
Click Save.
Step 2: Add standard actions to the subagent
In the Explorer, select the Account Health Overview subagent.
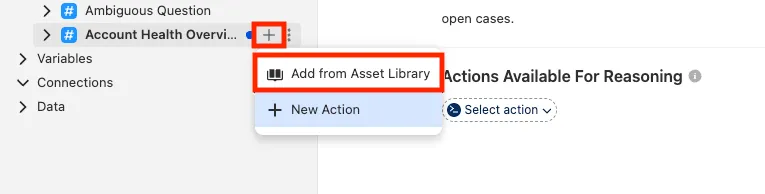
Under Actions Available For Reasoning, open the Select action dropdown and choose Add from Asset Library.
TIP
The Select action dropdown is where you add every action. It offers Browse activity, Create a custom action, Create a utility action, and Add from Asset Library, plus a search box to find actions already on the agent.
Search for and add each of the following standard actions:
Identify Record by NameQuery RecordsQuery Records with AggregateGet Record DetailsSummarize Record
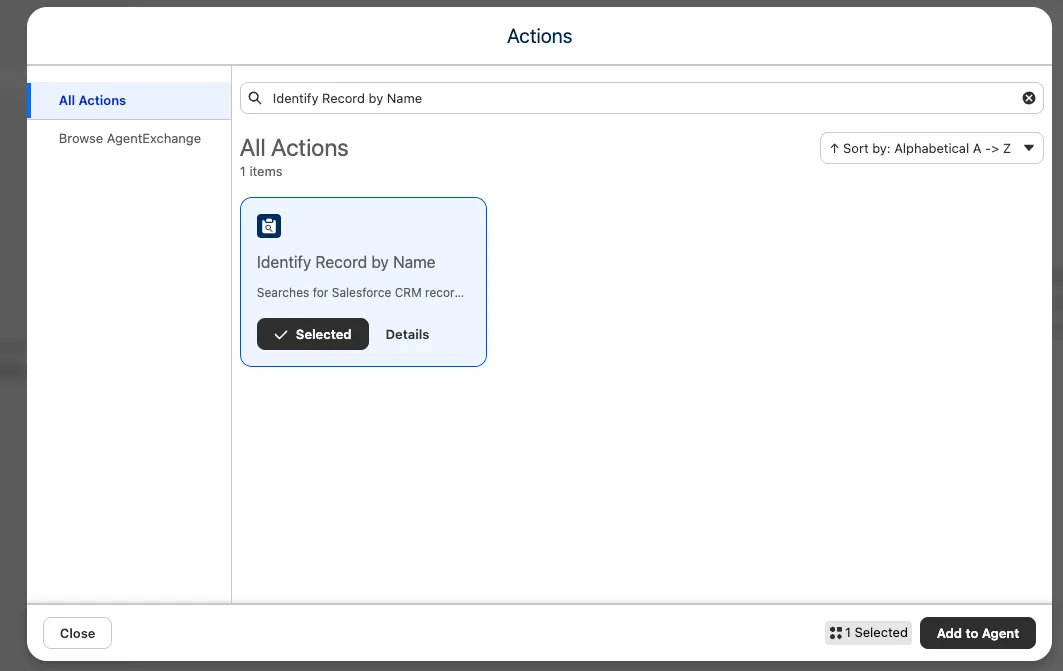
Click Add to Agent.
Click Save at the top level of the agent.
TIP
Standard actions come pre-configured with their inputs and outputs. The LLM decides which records and fields to pass based on the user's request and the subagent instructions, so you don't need to hand-wire each parameter the way you would for a custom action.
Step 3: Test the Account Health topic
Click Preview.
Enter the following prompt:
txtGive me a health check on Harvest Table Kitchens.Press Enter.
Click the Transition to Subagent entry in Interaction Details and confirm the router selected Account Health Overview.
Expand the individual Action entries to see how the agent used Identify Record by Name, Query Records, and Query Records with Aggregate to assemble the briefing.
Try a few more:
txtHow are all the Urban Eats locations performing?txtWhich storefronts have review scores below 4 stars?
Step 4: Add the Review & Sentiment Analysis topic
This topic reuses the same standard actions to focus on customer sentiment.
Create a new subagent:
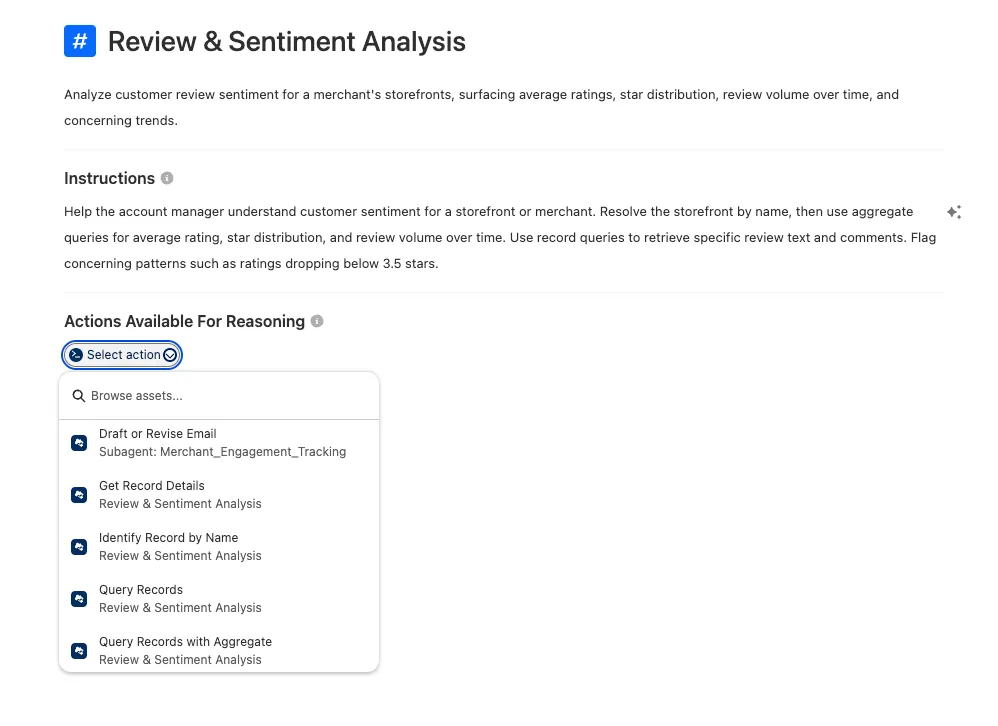
Field Value Name Review & Sentiment AnalysisDescription Analyze customer review sentiment for a merchant's storefronts, surfacing average ratings, review volume over time, and concerning trends.Click Create and Open, then paste the Instructions:
txtHelp the account manager understand customer sentiment for a storefront or merchant. Resolve the storefront by name. For a storefront's overall review score, or to find storefronts above or below a score threshold, query the Storefront object's Average Review Score rollup field with Query Records; do not aggregate individual review records for this. Use aggregate queries only for review volume over time, and record queries to retrieve specific review text and ratings. Flag concerning patterns such as scores dropping below 3.5 stars.Click Save.
Add these standard actions to the subagent:
Identify Record by NameQuery RecordsQuery Records with AggregateGet Record DetailsSummarize Record
TIP
You already added these actions to the agent in Step 2, so you don't need to reopen the Asset Library. Under Actions Available For Reasoning, open the Select action dropdown and use the search box to find and select each existing action.
Click Save and test in Preview:
txtSummarize the reviews for The Savory Spot over the last 60 days.txtWhat's the average review rating for The Savory Spot?txtWhich storefronts have ratings below 3.5?
Step 5: Add the Marketing Event Insights topic
Create a new subagent:
Field Value Name Marketing Event InsightsDescription Analyze marketing event performance and attendance, comparing expected vs. actual attendance and reporting on event counts and attendance across events.Click Create and Open, then paste the Instructions:
txtHelp the account manager analyze marketing event performance. Query Marketing Events and Event Storefront participation. Use aggregate queries for total attendance, average attendance, and event counts by type. Compare expected attendance against actual attendance, and use get-details or summarize for deep dives on individual events.Click Save.
Add these standard actions. Under Actions Available For Reasoning, open the Select action dropdown and use the search box to find and select each existing action:
Identify Record by NameQuery RecordsQuery Records with AggregateGet Record DetailsSummarize Record
Click Save and test in Preview:
txtHow did our food festivals do this year?txtWhich storefronts participated in food festivals this year?txtWhat was the total attendance for our marketing events this year?
Step 6: Add the Merchant Engagement Tracking topic
This topic adds the Draft or Revise Email standard action so the agent can produce outreach.
Create a new subagent:
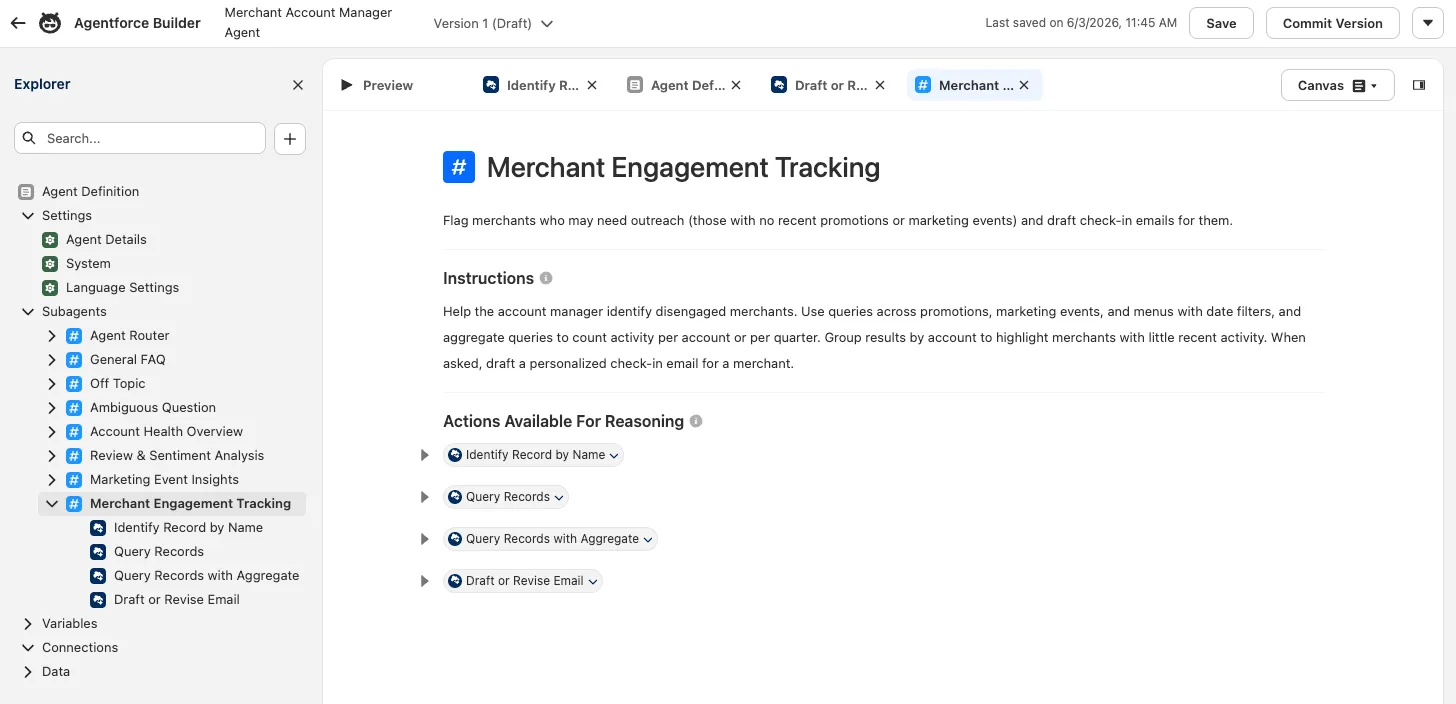
Field Value Name Merchant Engagement TrackingDescription Flag merchants who may need outreach (those with no recent promotions or marketing events) and draft check-in emails for them.Click Create and Open, then paste the Instructions:
txtHelp the account manager identify disengaged merchants. Use queries across promotions, marketing events, and menus with date filters, and aggregate queries to count activity per account or per quarter. Group results by account to highlight merchants with little recent activity. When asked, draft a personalized check-in email for a merchant.Click Save.
Add these standard actions to the subagent:
Identify Record by NameQuery RecordsQuery Records with AggregateDraft or Revise Email
TIP
Under Actions Available For Reasoning, open the Select action dropdown.
Identify Record by Name,Query Records, andQuery Records with Aggregateare already on the agent, so find and select them with the search box.Draft or Revise Emailis new, so choose Add from Asset Library, then Add to Agent.Click Save and test in Preview:
txtWhich accounts haven't had a marketing event in the last 6 months?txtAre there any storefronts with no active promotions right now?txtDraft a check-in email for Harvest Table Kitchens.
Step 7: Confirm routing across topics
Your Agent should now have all four new topics and be ready for you to test out.
Click Preview.
Run prompts that should hit different topics and confirm the Agent Router transitions to the right subagent each time:
Account Health:
txtHow's Urban Eats Collective doing?Review & Sentiment:
txtWhat's the sentiment for The Savory Spot?Marketing Events:
txtHow did our food festivals do this year?Merchant Engagement:
txtWhich merchants should I check in with?For each, open Interaction Details to verify the routing decision and the actions used.
Step 8: Activate the agent
Before the agent can be granted to users through a permission set, you need to commit a version and activate it.
In Agentforce Builder, click Commit Version in the top right of the screen.
Confirm by clicking Commit Version in the modal.
Click on Activate.
Confirm by clicking Activate in the modal.
Step 9: Create a Merchant Account Manager Agent Permission Set
In the Setup Quick Find, search for and select Permission Sets.
Click on New.
Set field values as follows:
Field Value Label Merchant Account Manager Agent AccessAPI Name Keep Default Description This permission set grants access to the Merchant Account Manager Agent.License Keep default: NoneClick on Save.
Under Apps, click on Agent Access.
Click on Edit.
Add Merchant Account Manager Agent to Enabled Agents.
Click on Save.
Click on Manage Assignments.
Click on Add Assignments.
Check the box next to Admin User.
Click on Save.
Click on Done.
Step 10: Access the Agent in Salesforce
In the App Launcher, select the Customer Support app.
Click on the Einstein Icon in the upper right corner of the screen to open the Einstein sidebar.
Enter the following prompt in the Einstein sidebar:
txtGive me a health check on Harvest Table Kitchens.The Merchant Account Manager Agent is now available to any users that have been granted access via Permission Sets or Profiles.
Summary
- Built four analytical subagents (Account Health Overview, Review & Sentiment Analysis, Marketing Event Insights, Merchant Engagement Tracking) entirely from standard actions.
- Used Query Records with Aggregate for counts, sums, and averages, and Summarize Record / Get Record Details for deep dives.
- Added Draft or Revise Email to power merchant outreach.
- Validated routing across all topics with Preview and Interaction Details.
- Activated the agent, then created and assigned a permission set so users can access the Merchant Account Manager Agent, and launched it from the Einstein sidebar.
Next, you'll add the one set of write operations this agent needs (case management) using custom Flow actions.